The Art and Science Behind Metallic Epoxy Floors

If you’re a homeowner or business owner in Los Angeles looking for a flooring option that combines style and durability, metallic epoxy floors are worth considering. These floors are not only visually stunning, but also highly durable and long-lasting. But how are these floors created? In this blog post, we’ll take a closer look at the installation process of metallic epoxy floors, and explore the art and science behind their unique properties. From their stunning marbled effect created by metallic pigments to their glossy finish, we’ll cover everything you need to know about metallic epoxy floors, and why they are a popular choice for homes and businesses in Los Angeles.
Step 1: Surface Preparation
The first step in any successful flooring project is surface preparation. We start by thoroughly cleaning the floor and making sure it’s free of dirt, debris, or previous coatings. Once clean, we sand the surface to create a rough texture that will allow the epoxy to adhere properly. Any cracks or holes are filled with an epoxy filler, and we allow the surface to dry for at least 24 hours.
Step 2: Applying the Epoxy Base Coat
Next, we apply the first layer of epoxy, which serves as a solid color base coat. We typically use white or gray epoxy for this step, and apply it using a roller or a squeegee. This layer provides a foundation for the metallic pigments to be applied later. We allow the base coat to cure for 12-24 hours.
Step 3: Adding the Metallic Pigments
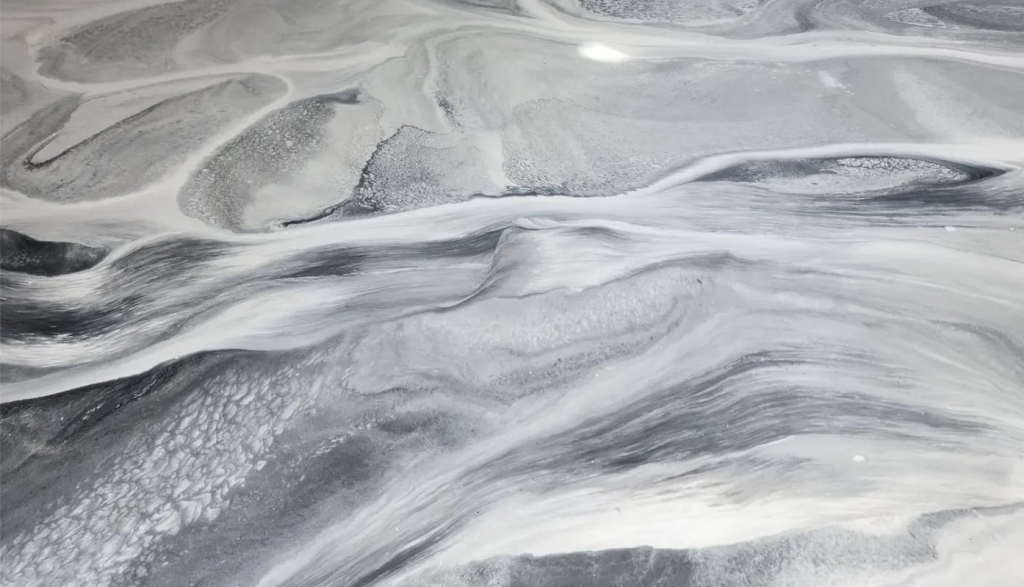
Now comes the fun part – adding the metallic pigments. These pigments are what create the unique, marbled effect that makes metallic epoxy floors so stunning. We mix the pigments with the second layer of epoxy using a drill and paddle mixer, and then apply the mixture using a roller or squeegee. The result is a one-of-a-kind finish that can be customized to suit any space.
Step 4: Sealing the Floor
After the metallic pigments are applied, we allow the floor to cure for 12-24 hours. The final step is to seal the floor with a clear coat of epoxy. This provides an extra layer of protection and enhances the shine of the metallic pigments. We apply the clear coat using a roller or squeegee, and allow it to cure for 24-48 hours.
The Science Behind Metallic Epoxy Floors
Epoxy is a two-part resin that chemically reacts to form a strong, plastic-like material. Once cured, epoxy is highly resistant to moisture, chemicals, and abrasions, making it an ideal choice for high-traffic areas. The metallic pigments used in metallic epoxy floors are made from finely ground particles of mica or aluminum. These pigments reflect light in a unique way, creating a shimmering effect that changes as the viewer moves around the room. This effect, known as “chatoyancy,” is what gives metallic epoxy floors their mesmerizing visual appeal.
In conclusion, metallic epoxy floors are a unique and beautiful flooring option that combines the art of design with the science of materials. Whether you’re looking to add a touch of glamour to your home or create a stunning commercial space, metallic epoxy floors are sure to impress. By following these steps and understanding the science behind the process, you can achieve a flawless finish that will last for years to come.
schedule a free estimate to-day!
Looking for a professional Mettalic Epoxy job? Our team is here to help you out! We offer free estimates, so there’s no guessing how much your project will cost. Whether commercial or residential work, we can ensure the job gets done right. Got questions? Give us a call at (323) 329-7068 , send an email to [email protected] , or submit our contact form online – whatever works best for you! Let’s get in touch and start today!


1 thought on “The Art and Science Behind Metallic Epoxy Floors”
I enjoy the succinct style you present information on your website. Keep up the fantastic work.